
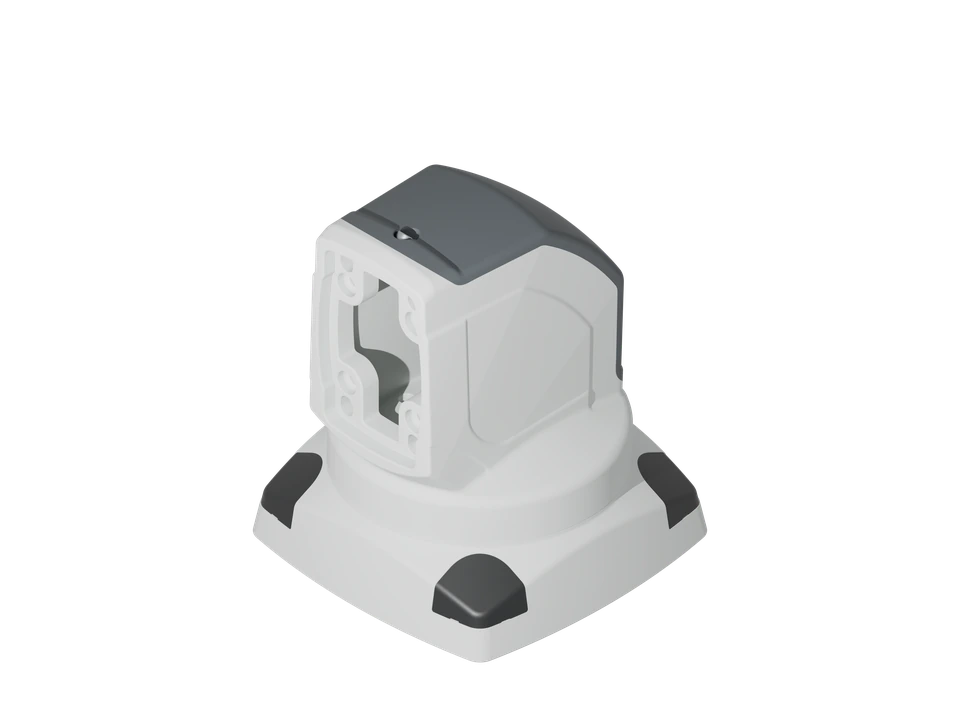
JOINT PARTS
Rotatable Top Mounted 90° Angle Joint
- Weight
- 5900 g
- Material
- Aluminum
- Colour
- RAL 7035 (Cover RAL 7016)
- Package Dimensions
- 210 × 240 × 220 mm
- HS Code
- 7606.99.90.19
- Warranty
- 5 years
Technical data
Specifications for planning, selection and use at a glance.
Material & finish
- Material Composition
- Aluminum
- Colour
- RAL 7035 (Cover RAL 7016)
- RAL colours
- RAL 7035 / RAL 7016
Application & function
- Operating Weight
- 5900 g
- Primary Use Case
- Machine Building / Automation / HMI operator stations
- Operating Temperature
- –40°C to +70°C
- Protection Rating
- –IP65 (DIN EN 60529)
- Rated Voltage
- Mechanical (not subject to electrical certification)
- Movement
- Rotatable 315°
- Rotation angle
- 315 deg
Safety & compliance
- Earthing
- Yes, integrated solution
- RoHS Compliance
- RoHS EU Directive 2011/65/EU
- REACH Compliance
- REACH Regulation 1907/2006/EC
- Certification
- IEC 60529; (EG) No. 765/2008; (EU) 2023/956
Version & enquiry
Use the item number and version to prepare your enquiry.
| Choose a version | ||
|---|---|---|
| SKU: X-L-AGH01 | 5900 |
SKU: X-L-AGH01
- Weight (g)
- 5900
Assembly instructions
About these instructions
Assembly sequence prepared from the exact XINDUX article data sheet. Tightening torques not specified in the source document are deliberately not added.
Preparation & tools
Supplied and installation parts
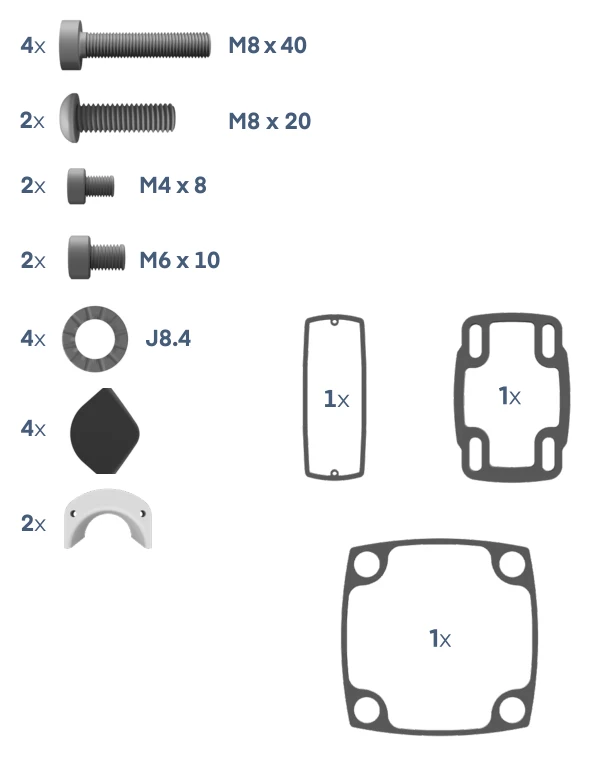
Required tools
- Allen key suitable for the fasteners
- Torque wrench for the final engineering check
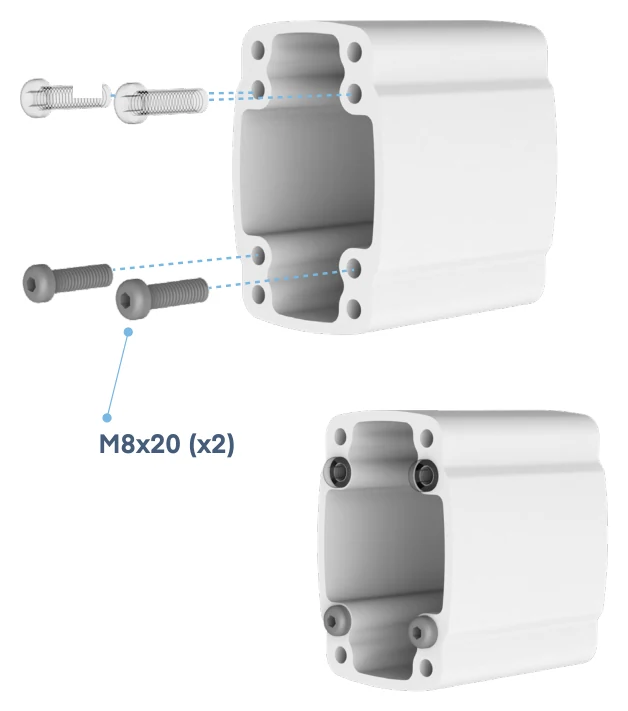
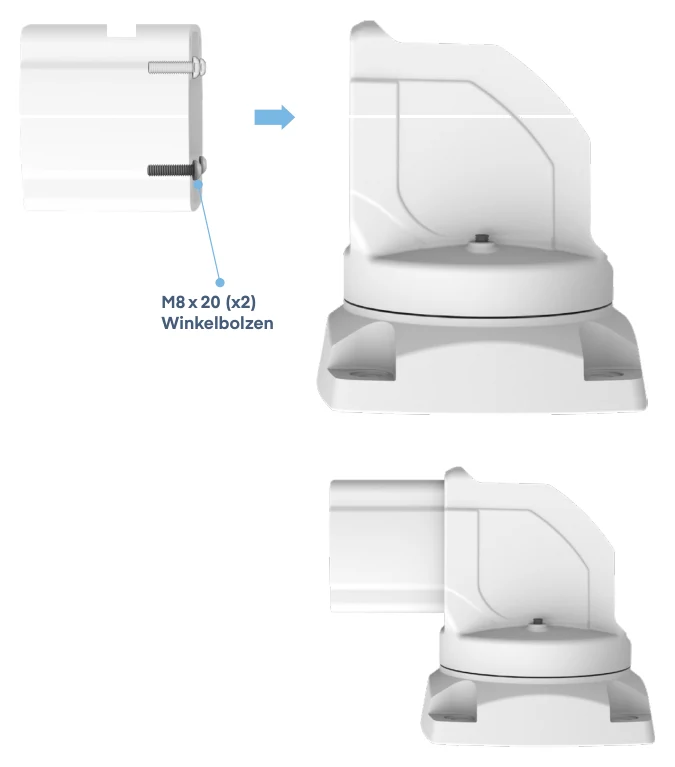
1. Fasten the connection
Insert the angle bolts into their slots and tighten.
- M8 × 20
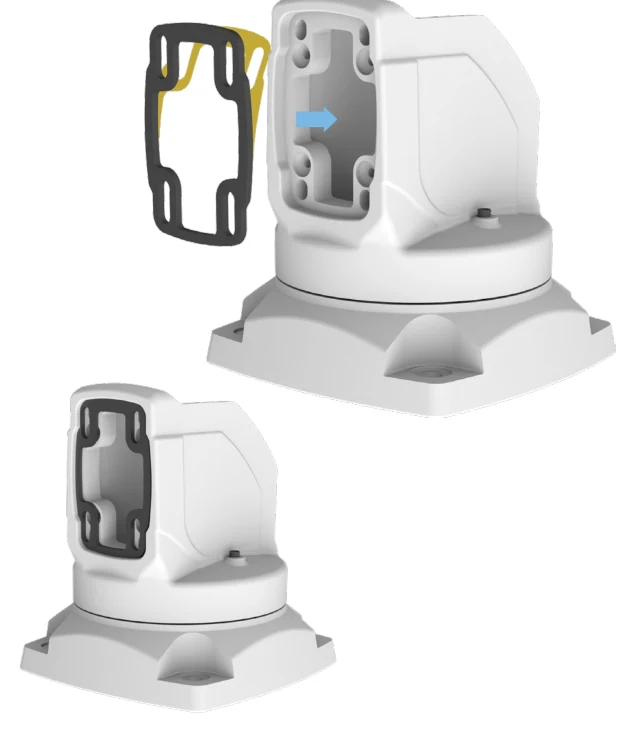
2. Insert the gasket
Remove the yellow tape. Insert the profile-side connection seal with the adhesive surface to the component into the seal holder shown without folds.
3. Connect the profile
Insert the profile into the coupling as shown in the figure on the left.
- M8 × 20
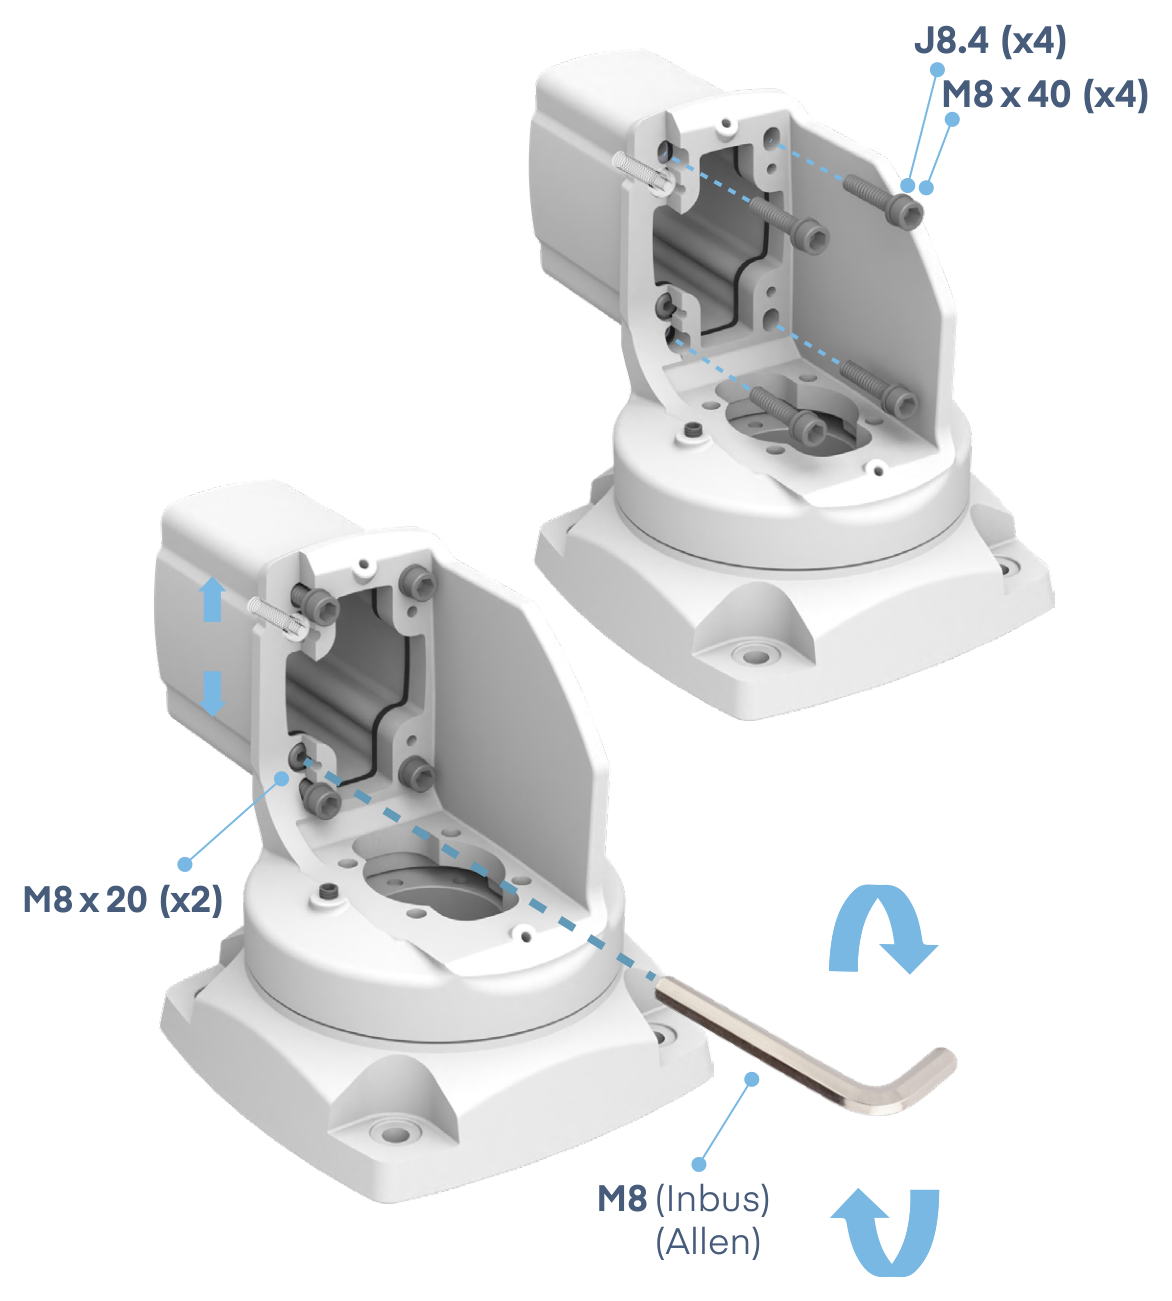
4. Align the system
Check the support arm profile with a spirit level. Only if there is visible deflection, loosen the M8 × 40 profile bolts by 2-3 mm depending on the required correction angle, align the profile with the M8 × 20 angle bolts and then tighten all profile bolts again.
- M8 × 40
- M8 × 20
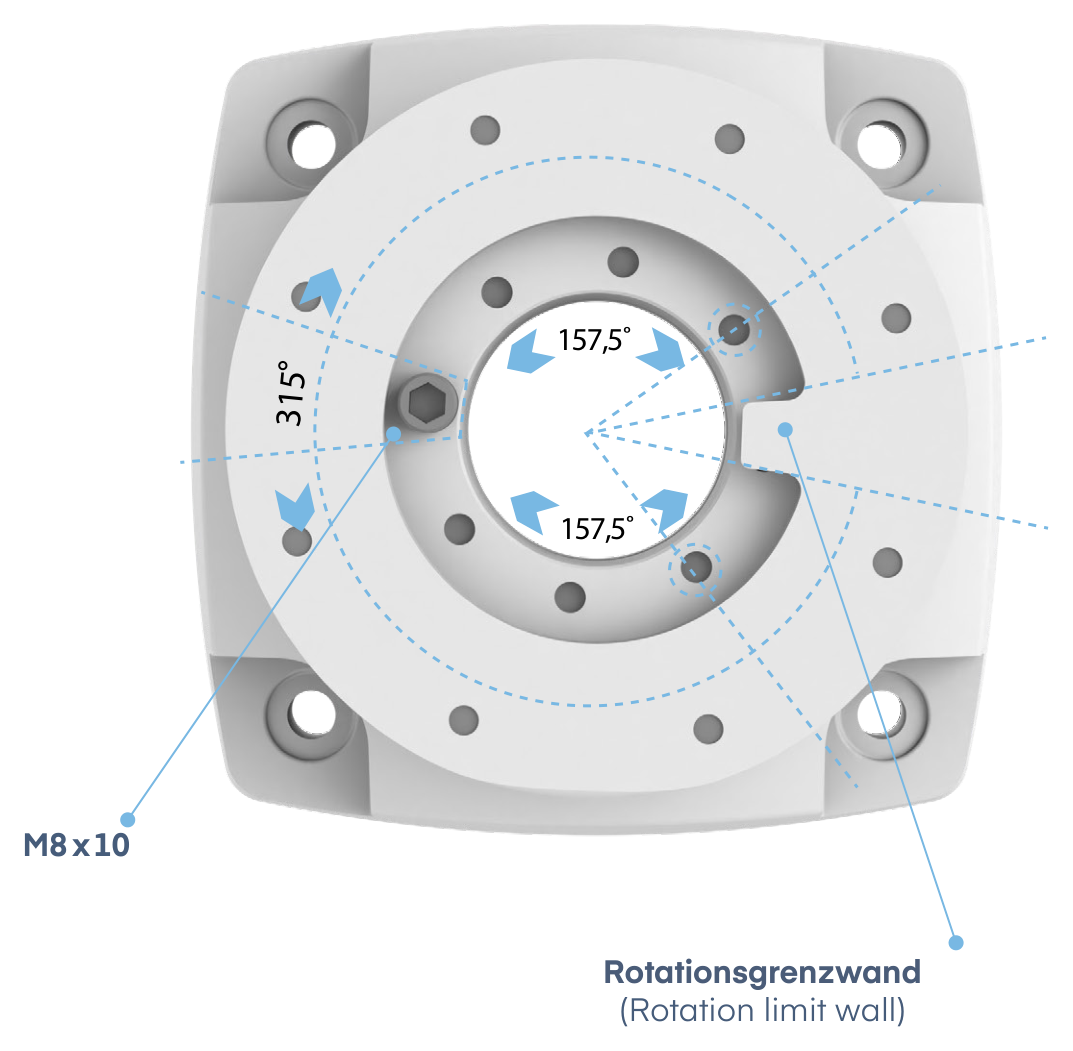
5. Set the rotation range
Set the desired rotation range using the eight evenly spaced stop holes. Use one M8 × 10 rotation limit screw for each desired stop.
- M8 × 10
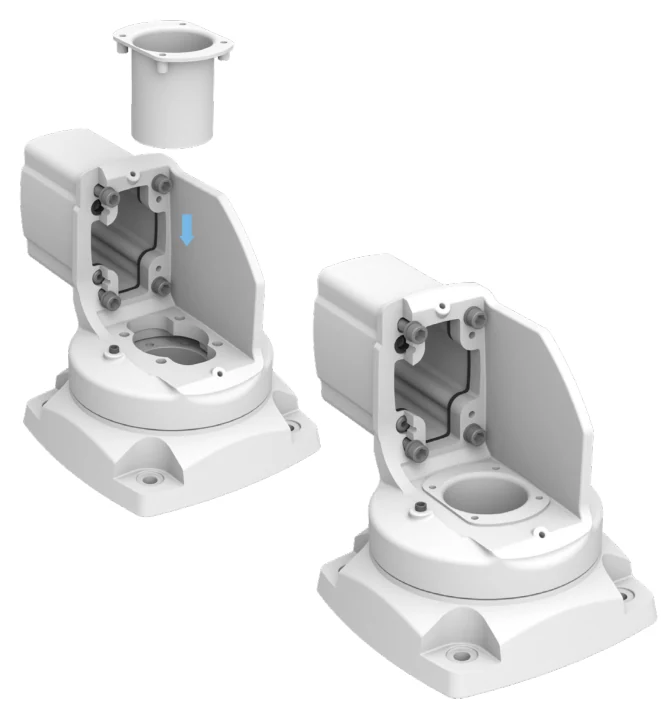
6. Install the cable guide
Place the plastic cable protector as shown in the illustration on the left.
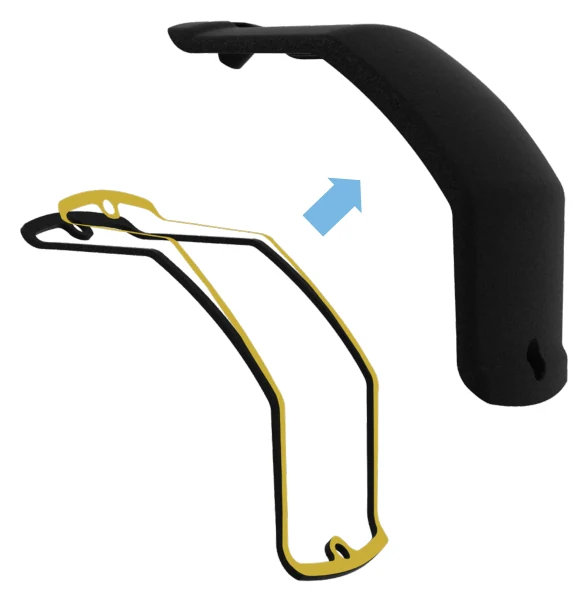
7. Insert the gasket
Remove the yellow tape. Insert the cover seal with the adhesive surface to the black cover into its contour without folds.
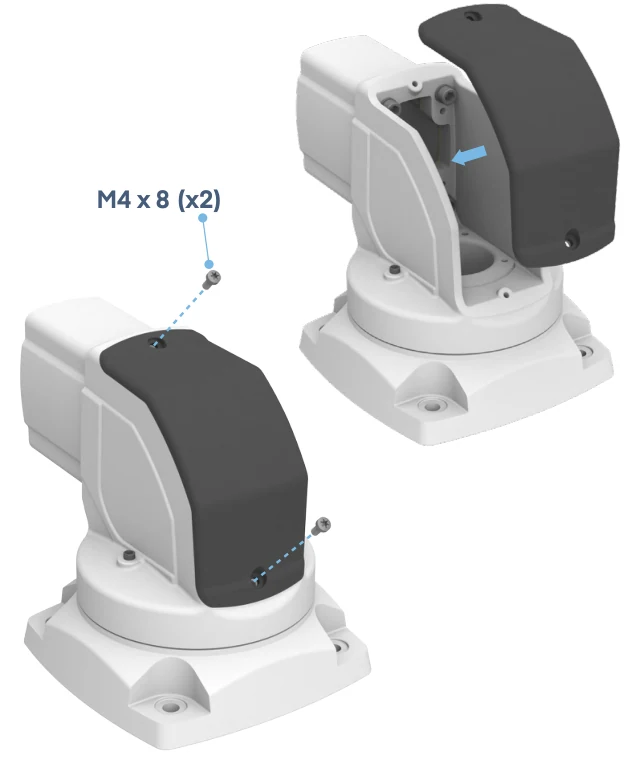
8. Fit the cover
Position the cover and secure it with the screws shown.
- M4 × 8
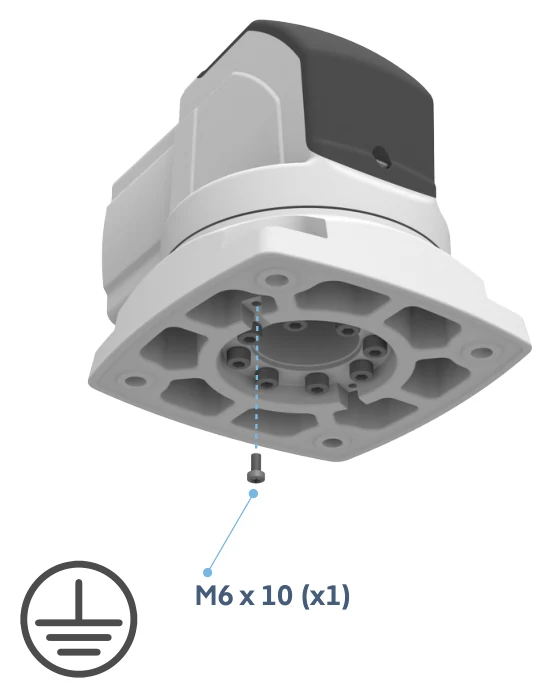
9. Connect the grounding
Caution: Make the ground connection and check that it is secure.
Caution: Make the ground connection and check that it is secure.
- M6 × 10
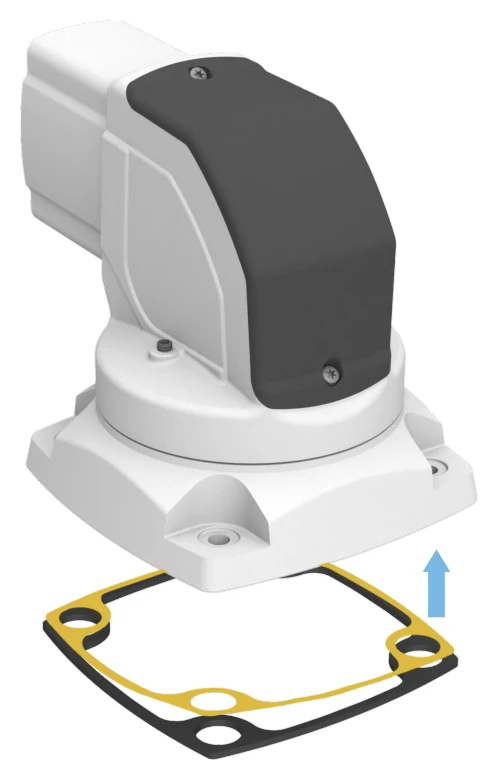
10. Insert the gasket
Remove the yellow tape. Insert the seal to the mounting surface with the adhesive surface to the component into the seal holder shown without folds.
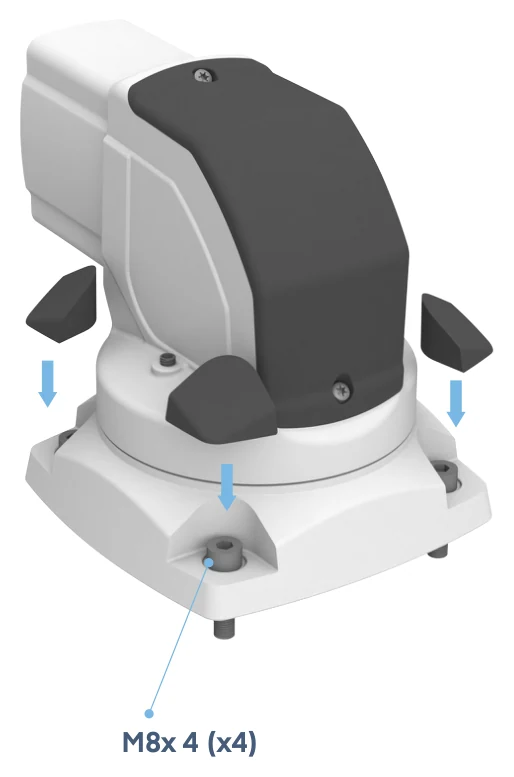
11. Fit the cover
The M8 mounting screws are not included.
Place the black screw caps on the heads of the M8 screws. The M8 mounting screws are not included.
- M8
- M8 × 4
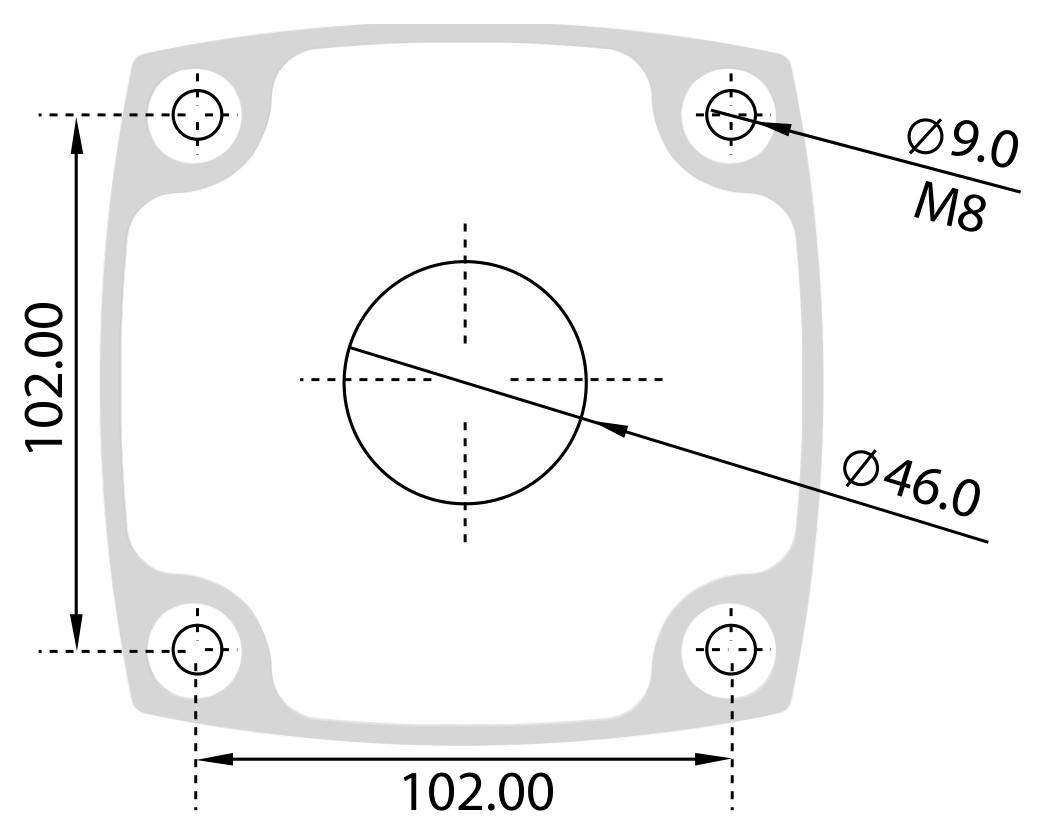
12. Prepare the mounting holes
If required, prepare the mounting holes according to the dimensioned drawing. All dimensions are given in millimetres.
Select a step or use the arrows. On mobile, swipe left or right.
Products in this series
 Warning Lamp Cover (M22)
 Rotatable Panel Coupling
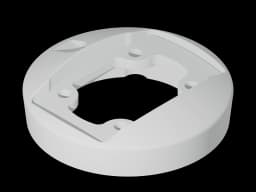 Panel Coupling
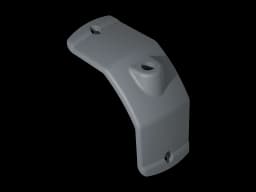 Warning Lamp Cover (M18)
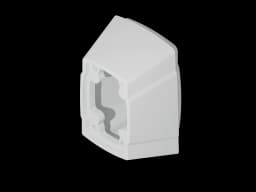 130/080 Support Arm Adaptor
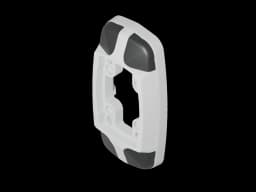 Wall-Socket Mounting Bracket
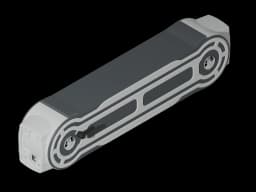 Height Adjustable Support Arm
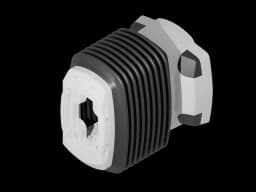 Steel Wall Mounted Module - With Bellows
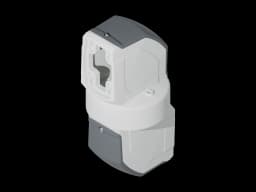 Rotatable Intermediate Hinge
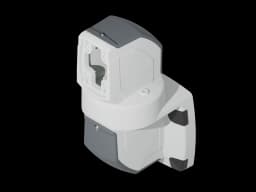 Rotatable Wall-Mounted Hinge Horizontal Outlet
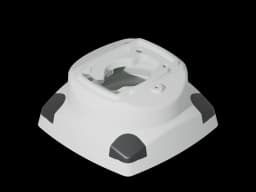 Rotatable Top Mounted Vertical Outlet
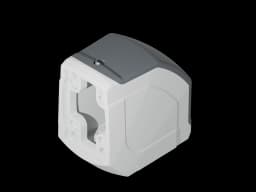 90° Angle Piece
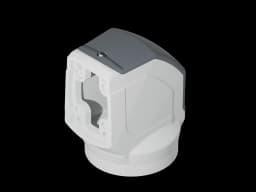 Rotatable Panel 90° Angle Coupling
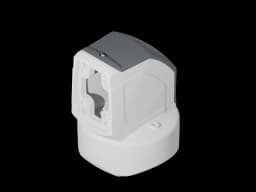 Rotatable profile joint
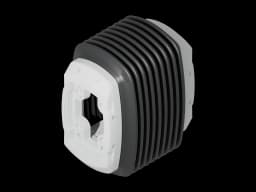 Steel Interconnection Module - With Bellows
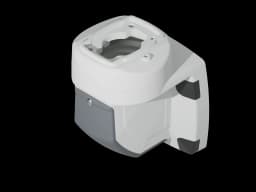 Rotatable Wall-Mounted Hinge Vertical Outlet
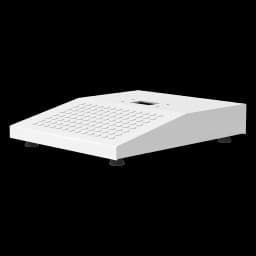 kiosk base with levelling feet
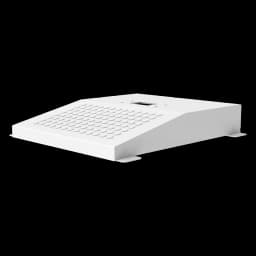 kiosk base with flange
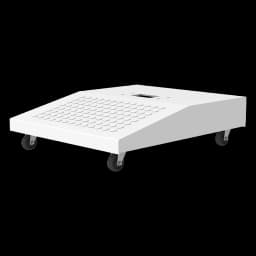 mobile kiosk base with castors
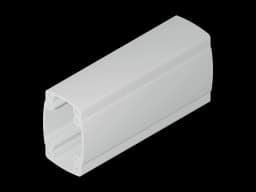 130 Support Profile - 1000mm · X-L